Follow us
How to Replace a Shower Valve
By Team HomeServe
July 05, 2021
Replacing a Shower Valve at a Glance
Tools & Materials: Hand saw, pliers, Allen wrench, utility knife, screwdriver, rags, hex key
Step 1: Turn off water and cover drain
Step 2: Remove handle and showerhead
Step 3: Remove and clean trim plate
Step 4: Remove old valve
Step 5: Install new valve
Step 6: Reconnect water supply
Step 7: Check for leaks
Your shower is one of the essential plumbing fixtures in your home. There's nothing more annoying than a shower handle that's difficult to turn, or one that makes unwanted changes in your water temperature or pressure. Fortunately, these issues are often straightforward to fix by simply replacing the old shower valve.
This May Also Interest You: What Is a Shower Diverter Valve (and Why Should You Care?)
With a bit of know-how, this is a relatively quick job that most people can manage. The instructions below explain how to replace a shower valve.
Things You’ll Need
Before you start changing your shower valve, you'll need to purchase a replacement and gather a few tools:
Small hand saw
Set of pliers
Allen wrench
Utility knife
Screwdriver
Rags
Hex key
Steps to Replace a Shower Valve
1. Switch Off the Water Supply and Cover the Drain
If your shower has its own shutoff valve, turn it to cut off the water supply. If not, turn off the water supply to your entire home using the main stopcock. Then, cover the shower drain with rags to stop small parts like screws and washers from getting lost while you work.
2. Remove the Handle and Showerhead
Next, use a hex key to remove the shower handle. It's worth checking which model you have before you start, because different types require different hex keys. Also, remove the showerhead. It's a good idea to keep any parts you remove in a secure container so that you don't lose any. This will also make them easy to find when it's time to put your shower back together.
3. Remove and Clean the Trim Plate
Unscrew the trim plate and set it aside. This is a good time to give it a thorough clean to improve your shower's appearance. Soaking the plate in vinegar is an effective way to get rid of caked-on dirt and residue and get it looking as good as new.
You may also need to remove any caulk. One of the simplest ways to do this is to carefully cut it away using a utility knife and then peel away any residue. Needle-nosed pliers are also useful for prying off multiple layers of dried-on caulk. If you're worried about damaging the wall, you may wish to consider purchasing a specialized caulk remover tool.
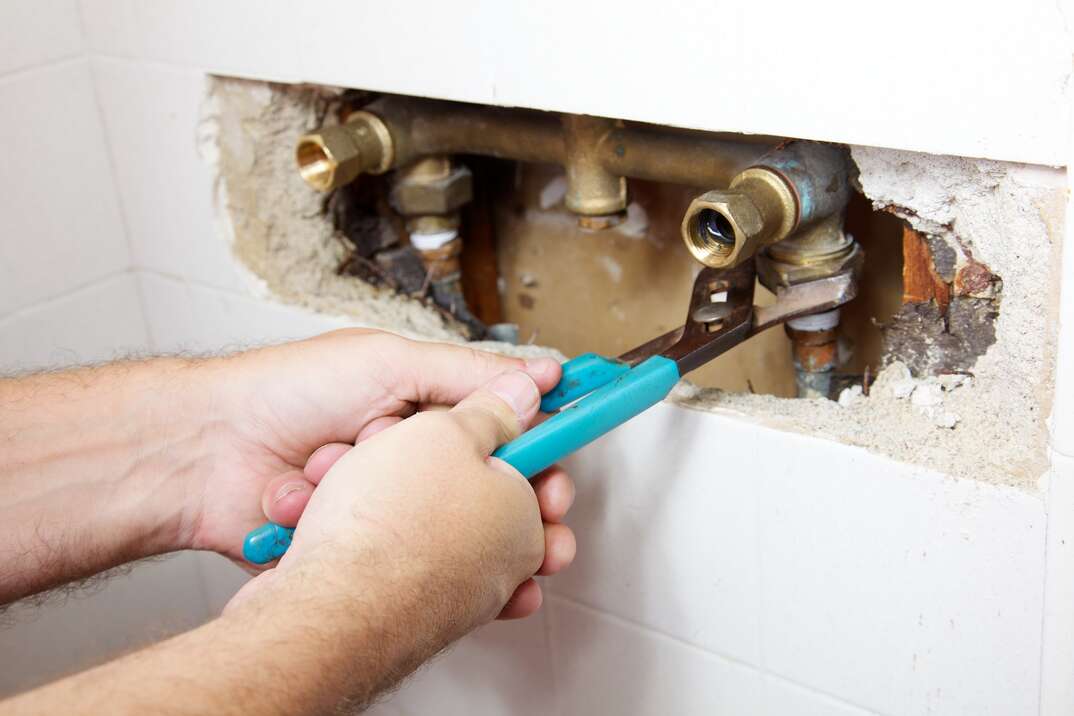
4. Remove the Valve
Although there will already be a hole around your old shower valve, you may need to make it larger to access it easily. Before cutting away any of the wall or tiles, double-check the size of your trim plate to make sure your hole won't be too big to cover up afterward. It's vital to take care when you're cutting away the wall materials. It's best to ask a professional plumber to do it for you if you're not confident.
Once you've made the valve accessible, use pliers to pull out the valve clip. If the clip is in decent condition, you can reuse it or retain it as a spare. However, most new shower valves come with a replacement clip included in the package.
You may also need to remove any retainer nuts using an Allen wrench. Then, you can pull the old valve out using pliers. If it's tightly wedged, giving it a bit of a wiggle can help to work it loose.
More Related Articles:
5. Install the New Valve
Slide the new valve into position using pliers and link up the water pipes. If it doesn't fit, make sure that you purchased the correct size, as using the wrong size valve could cause serious problems.
6. Reconnect the Water Supply
You'll need to link your new shower valve up to the water supply. If you have PEX pipes, tape around the male thread and put on coupling and crimp fittings. Copper pipes need to be soldered on, but be careful; it's easy to damage your new valve with the heat of the solder.
7. Check for Leaks
Turn the water supply back on and carefully watch the valve and surrounding system to make sure it doesn't leak. If you notice water dribbling out of the connections, screw them together more securely or add more solder to plug the leak.
Once you're satisfied that your system is watertight, you can replace the trim plate by screwing it in securely and caulking it around the perimeter. Reattach the shower handle and unblock the rags from the drain.
How Long Does It Take to Replace a Shower Valve?
How long it takes to replace a shower valve depends on several factors, including how confident you are and whether you have any plumbing experience. If you need to increase the size of the hole around the valve or wrench out retainer nuts, this can add to the time it takes.
Overall, you should expect it to take around an hour to replace a shower valve and check your finished work for leaks. Having all your materials and equipment ready beforehand and double-checking that you've purchased the correct valve size can help save time and potentially costly mistakes.
View Plans in Your Area
Follow us
Popular

Apr 01, 2024

Apr 26, 2021

Get the latest news, tips and promotional messages, including special offers.